Illustration: A wrinkle in time - the night garden
MATERIALS:
11 X 17 WHITE CARDSTOCK, FOLDED IN HALF LENGTHWISE PENCIL, ERASER, PAPER CLIPS SCISSORS, HOLE PUNCH, GLUE STICKS BACKGROUND PAPER - BLACK OR WATERCOLOR PAPER, OR OTHER OPTIONS PROJECT: USING CURSIVE WRITING, WRITE YOUR NAME (OR SOMEONE'S NAME) SO THE BOTTOM OF THE LETTERS ARE SITTING ON THE FOLDED EDGE OF THE PAPER. (THE PAPER OPENS AT THE TOP) REFINE THE LETTERS AND MAKE LETTERING ABOUT 1/2" TO 3/4" THICK TRY TO MAKE IT TAKE UP MOST OF THE FOLDED AREA OPEN UP THE PAPER AND SEE IF YOU LIKE THE SLANT AND SHAPES OF THE LETTERING SECURE THE OPEN SIDES OF THE FOLDED PAPER WITH PAPER CLIPS. GET READY TO CUT OUT THE NAME. THE INSIDE OF SOME LETTERS NEEDS A HOLE PUNCH BEFORE YOU CAN CUT OUT THAT PART. 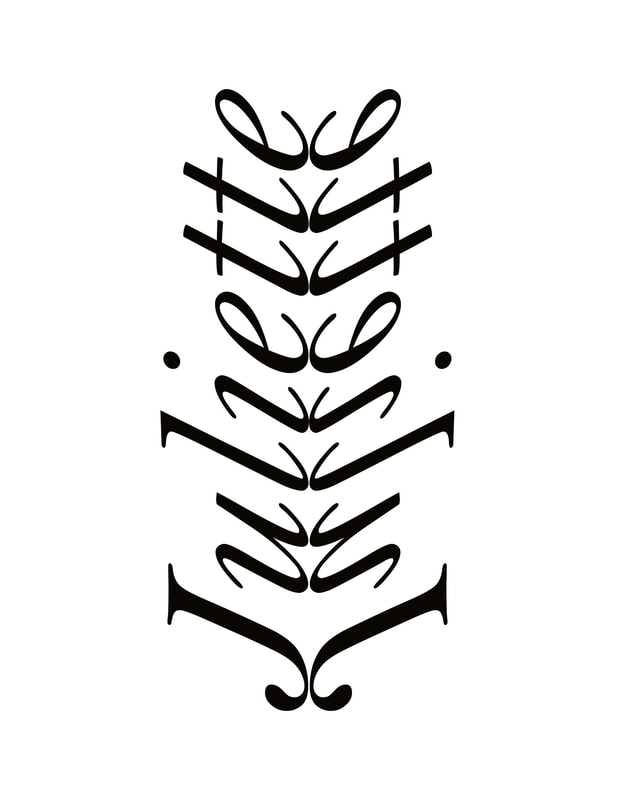
Jewelry making - beads and wire
|
|


Butterfly crayon resist
Materials:
Dead butterflies
Books and magazine articles on butterflies
Magnifying glasses
Project: draw some butterfly examples with pencil or colored pencil
Enlarge a drawing with crayon on heavy paper. Get plenty of wax on the paper.
Add watercolor on top of the crayon.
Discuss life cycle of butterflies, common ones in our area; butterfly gardens nearby and plants that help them.

|
Castles - a bas relief project
We viewed a Castle powerpoint and discussed symmetry and asymmetry in architecture, and the time in history when castles were built. We each sketched a castle design. We used a 9 x 12 or larger sheet of cardboard for the backing. We used cut cardboard shapes and school glue to form the designs of our castles. We included towers, crenelation, doors, Gothic and rectangular windows, and stone masonry. Some castles had pennants flying from the towers. When the glue dried, we sprayed the cardboard with a rubber cement, then carefully laid on heavy-duty aluminum foil. We rubbed the foil to show the cardboard textures and details underneath. An antiquing patina can be added with an acrylic glaze mixed with a dark color.


Ancient Egyptian Art- creating a family portrait
Egyptian Clothing
|
|


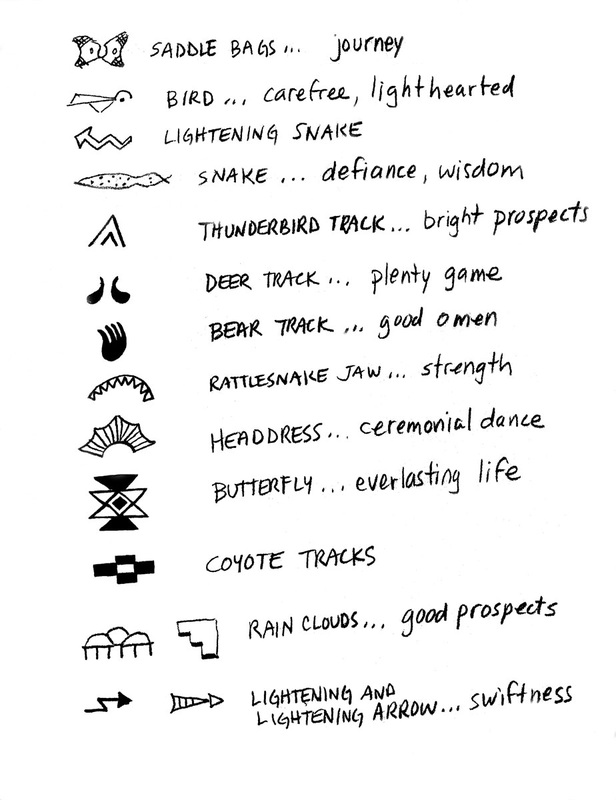
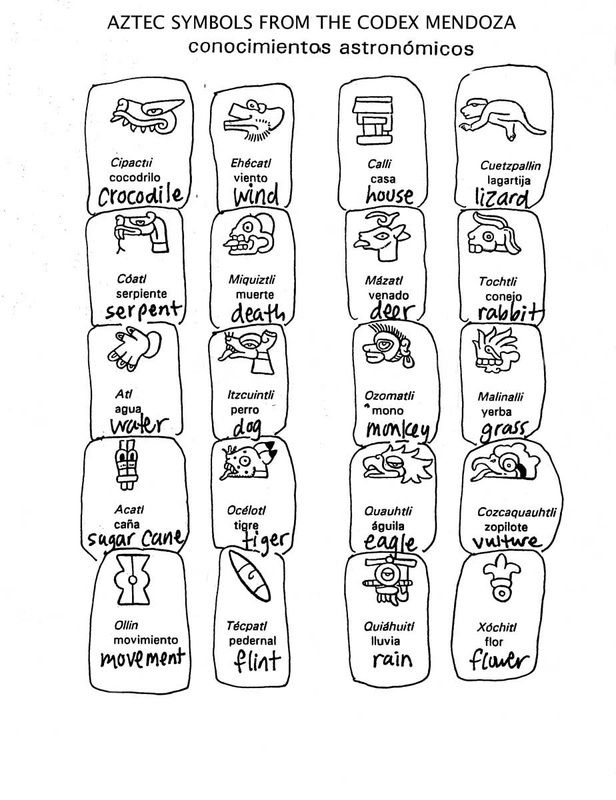
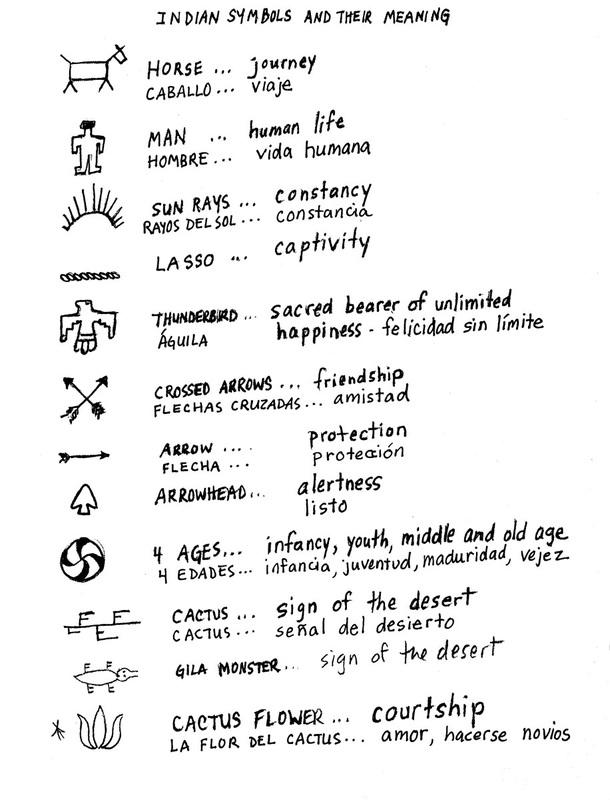
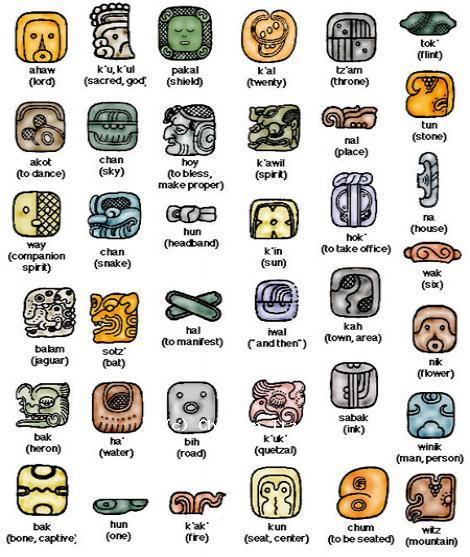
Mayan symbols
symmetrical batik artwork
The artwork below is made with the same technique of using crayon on a natural-colored paper, then ironing the paper from the back to melt the wax and set the color.
Notice how these artworks are very symmetrical (balanced) so that the design is repeated or mirrored. The wildlife pictured in them is beautiful, with curving lines and no unused space!
Notice how these artworks are very symmetrical (balanced) so that the design is repeated or mirrored. The wildlife pictured in them is beautiful, with curving lines and no unused space!


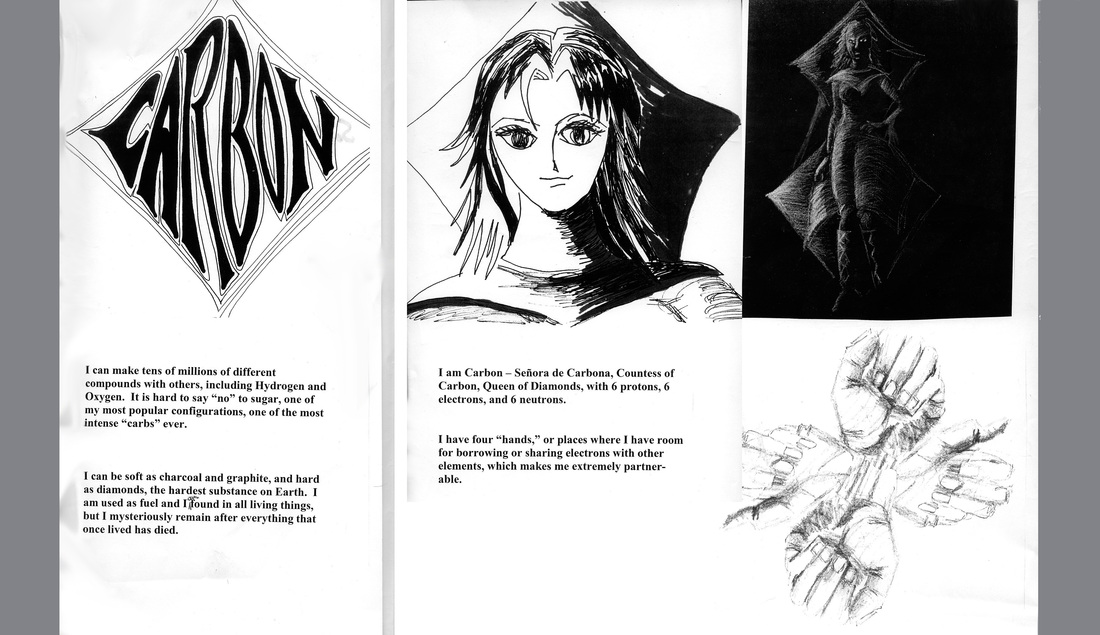
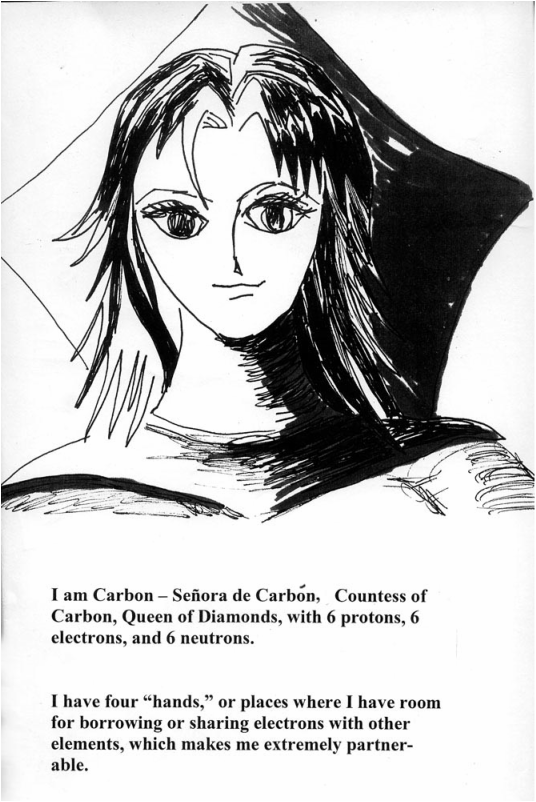
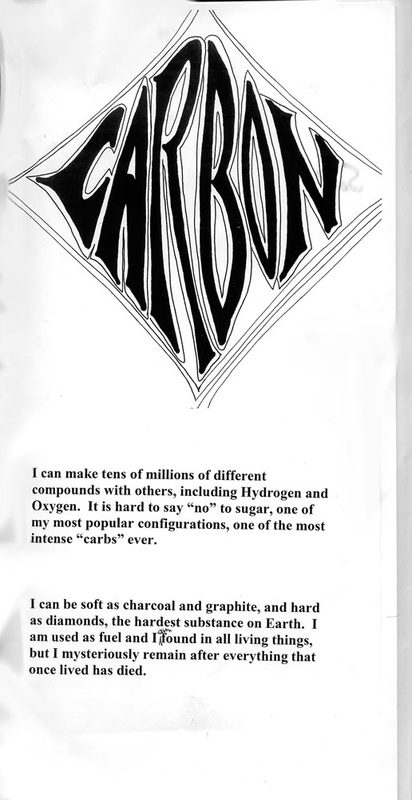
Shading Japanese family crests to depict chemical elements
IBMYP Rubric included


Extension activity: creating a character and monologue for your chemical elment
leaf symmetry - a cut paper project


self-portraits
greek Vases
|
|


Repoussé metal work |
Repoussé crowns made with aluminum and copper foil; some shapes made with fun foam. Photos by Ann Force, retired art teacher from Vista, CA. Repoussé animals, cityscapes and mask are made with cardboard and fun-foam, glue, heavy duty aluminum foil, permanent markers. The latter images and instructions are by Carol Webb, retired art teacher from Lakeside, CA.
|


Cubism project - we read a scholastic art magazine about cubism; paired up to draw each other's portraits from three different angles on newsprint; cut out the parts we liked best; made a collage by arranging the cut pieces and adding color with chalk pastels and shading to unify the composition. We used some acrylic medium to paste the images and to turn the pastel into paint.
In a second project, we doodled and then shaded the shapes using a monocromatic color scheme.


ABSTRACTS
materials:
11 x 17 card stock
sketches of guajome adobe or other architecture
pencils- create design to fill background with architecture/structure
art templates and shapes - overlapping the background
colored pencils, markers, watercolor - shade shapes and create focal point; try to get three or more "layers" of depth/value


Drawing one's hand
Vegetable faces (Giuseppe Arcimbaldo)
We got to know some springtime flowers and native plants and used them as well as local fruits and vegetables to create low relief "portraits" after studying Giuseppe Arcimbaldo. Extension: do a colored pencil or pastel portrait of your vegetable face on black paper. Arcimbaldo exhibit review by Michael Kimmelman: http://www.nytimes.com/learning/students/pop/20071011snapthursday.html.
The last five images are from a NY Times fashion article, "Diamond in the Roughage" by Lynn Yaeger, April 15, 2011.
The last five images are from a NY Times fashion article, "Diamond in the Roughage" by Lynn Yaeger, April 15, 2011.


Making a "biographical" hat sculpture with papier-mache and recycled papers
The hat was made to celebrate a special family friend. The foundation (armature) was created with manila cardboard (recycled folders.) Then layers of papier mache were added using old paper bags dipped in a 1/2-1/2 mixture of water and Elmer's glue. Some tissue papers were added and also collage pieces of writing about the person portrayed in this hat.


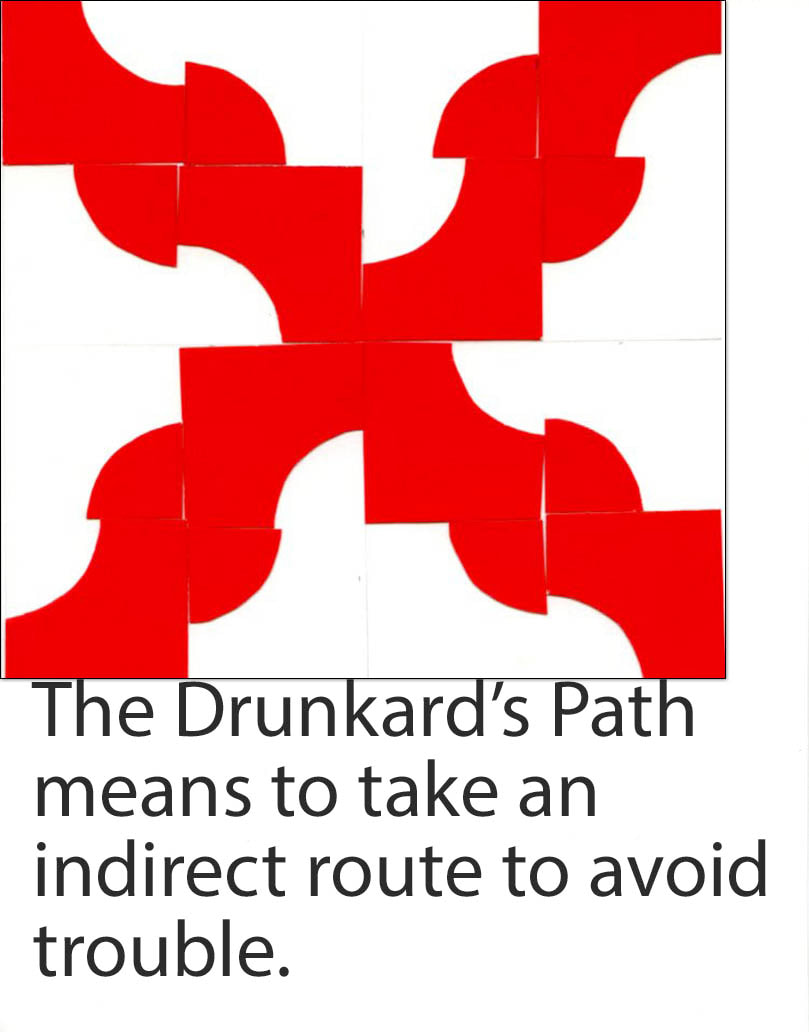
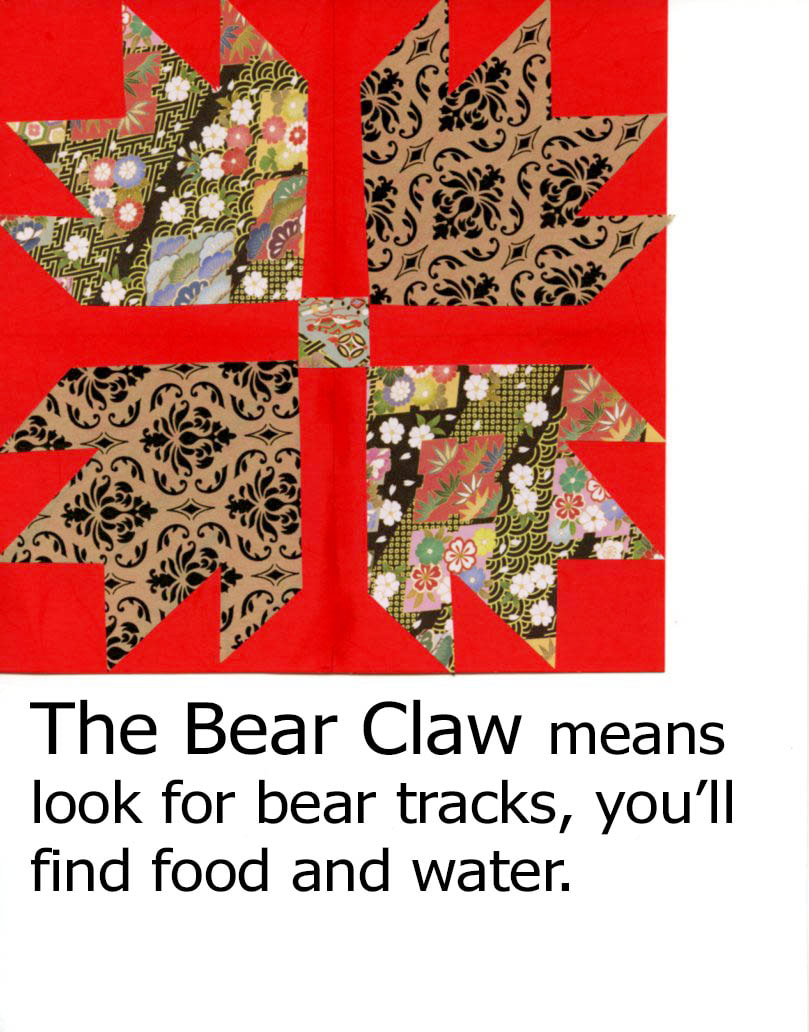
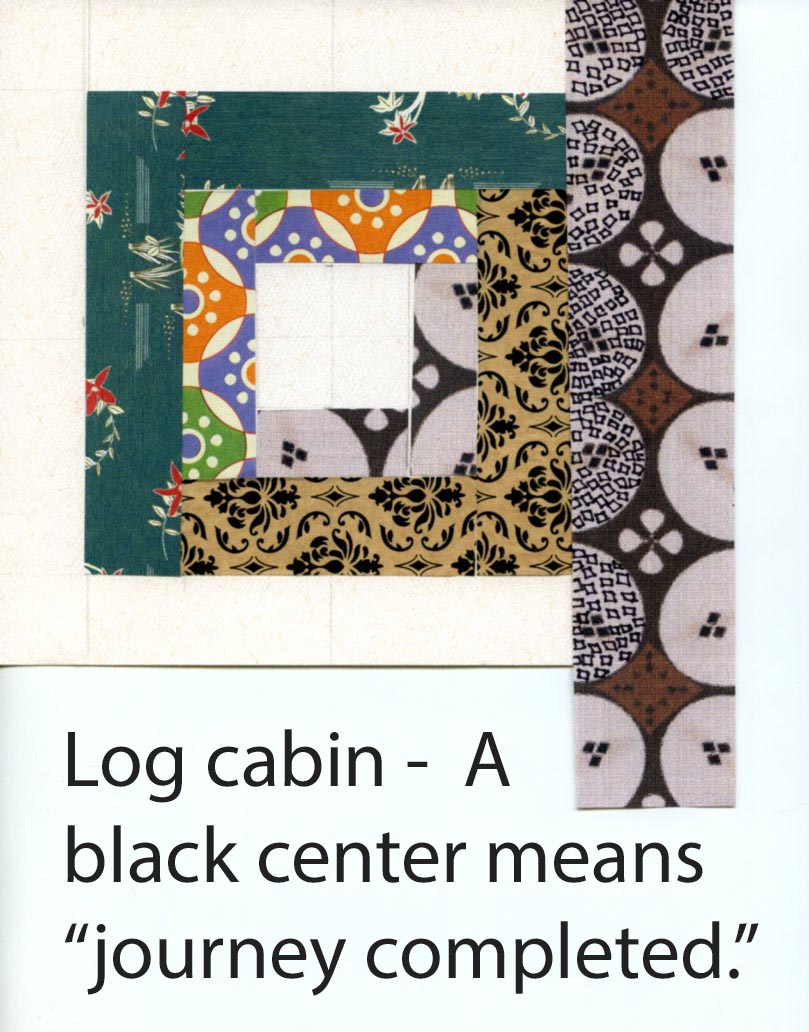
Quilts of the Underground railroad - a paper collage project
Ten different quilt patterns were used as "codes" to show people escaping from slavery how to travel to the North and avoid capture or any kind of trouble. The Underground Railroad was a series of safe houses for the travelers where they could find food and shelter, a change of clothes, and sometimes a ride in a wagon. The images in the quilts were well known. People providing safe houses would hang a quilt on their clothesline, and the escaping people read their messages. See Hidden in Plain View: A Secret Story of Quilts and the Underground Railroad by Jacqueline L. Tobin and Raymond G. Dobard.

Project steps: 1. Cardstock background pieces are cut to 8.5" x 8.5". Choose your colored background square.
2. Choose your pattern and colored papers, including wrapping paper with images or just plain colored paper.
3. Measure and lightly draw in pencil where cut pieces will go on the background.
4. Using the templates for your pattern, lightly trace the shapes onto the back of your paper, then cut them out.
5. Use glue sticks or paste to glue the "pencil" side of your shapes onto your background.
6. It's also fun to color shapes by hand with markers, crayons or pencils.
7. Lightly sign the back and write down what the image in your quilt square means.
